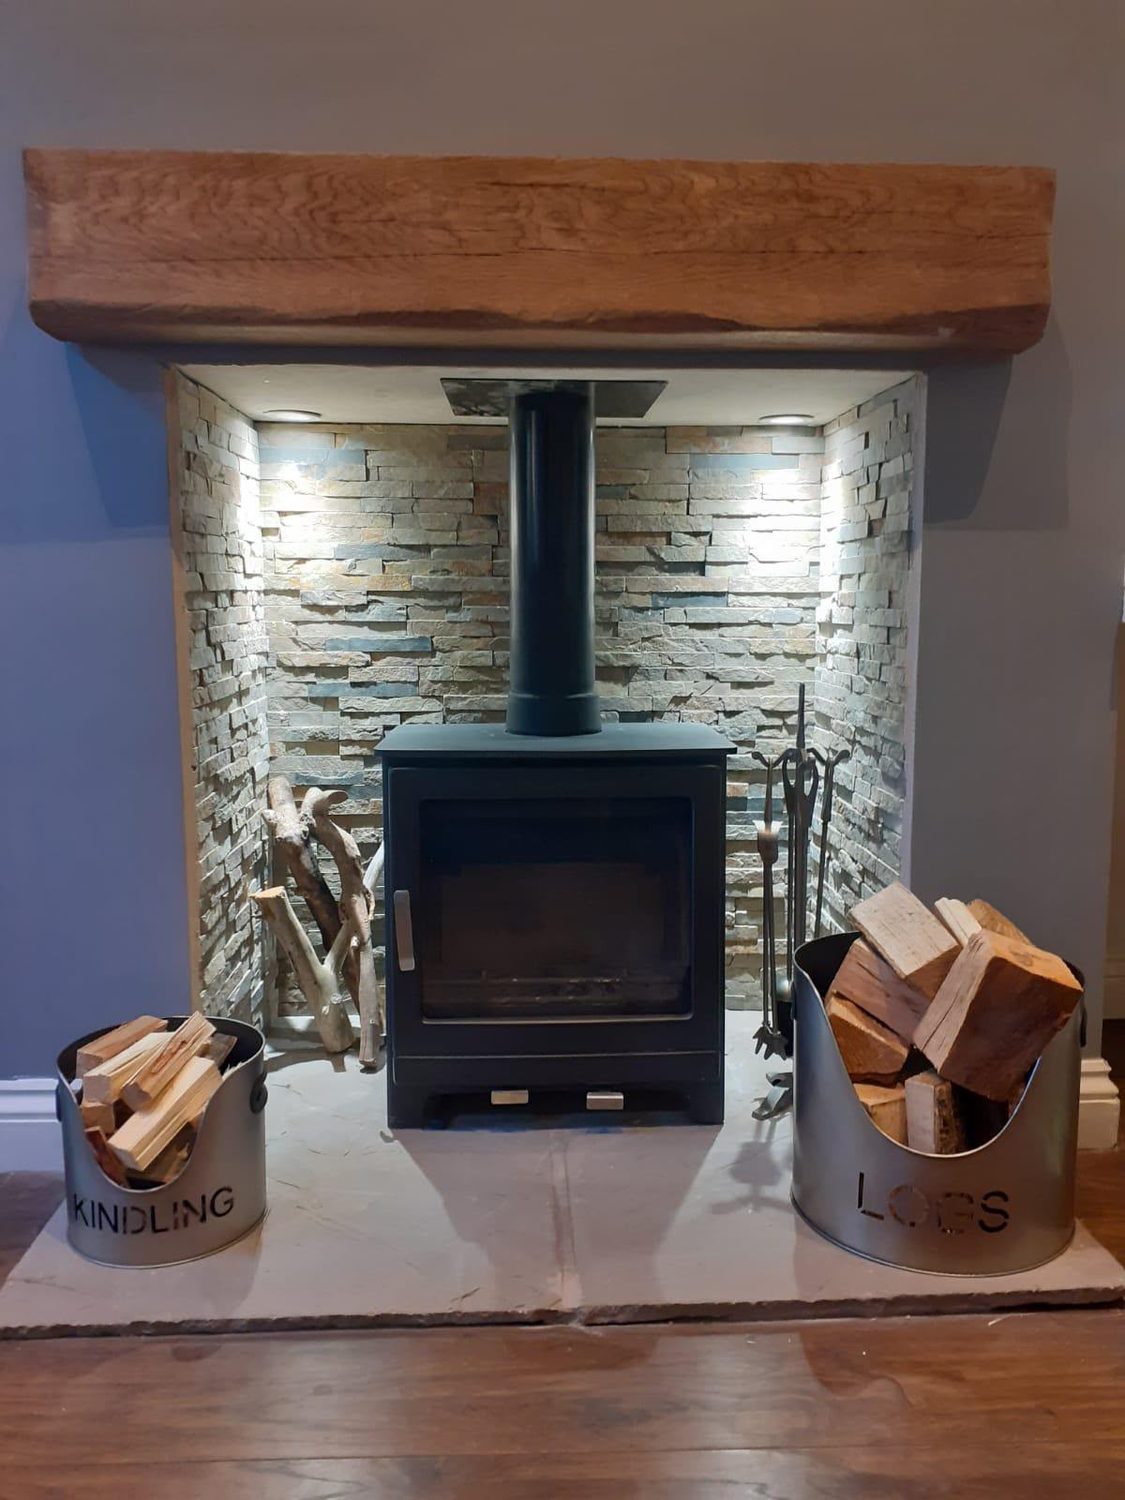
What is split-face stone?
Stone or slate supplied in strips on a mesh backing, with the face left rough where it was split rather than sawn or polished. It gives a chamber real texture and depth, catches the firelight, and comes in everything from near black slate through greys and greens to golden multi-colour. It is the single most popular chamber finish we fit and it suits both period and modern rooms.
Does the cladding need to be heat resistant?
The adhesive and the substrate matter more than the stone. Natural stone, slate and porcelain all cope with the temperatures inside a correctly sized chamber, but they have to be fixed with a heat resistant adhesive onto a suitable board or masonry backing, not onto plasterboard with standard tile adhesive. That is a common failure on a cheap install and it shows up as tiles dropping off within a season.
Can you light the inside of the chamber?
Yes, and it makes a surprising difference when the stove is not lit. Small low voltage downlights set into the underside of the lintel or the head of the opening wash light down the stone and make the texture read. The wiring is run before the chamber is clad and terminated back to a switched supply, with the electrical connection done by a qualified electrician.
We have original brick behind the plaster. Should we expose it?
Often, yes, and it costs less than cladding it. Once the plaster is off you can see what you have: some breasts are beautiful old handmade brick worth cleaning, repointing and sealing, and some are rough common brick that was never meant to be seen. We open a patch up first and let you look at it before deciding, rather than committing you either way.
How do you keep the joints looking right?
By setting out from the middle and from the stove, not from a corner. That means the cuts finish at the edges where they are least visible, the courses line through across the back and the returns, and the corners are mitred so you do not see the raw edge of the stone. It is slower and it is the difference between a chamber that looks fitted and one that looks stuck on.
Can the chamber be changed later without redoing the stove?
Usually yes. The stove, the liner and the register plate are the fixed part; the cladding, the beam and the hearth finish are the decorative layer on top. Rechamfering a chamber in a few years means taking the stove out for the day, reworking the finish and putting it back, which is a far smaller job than the original install.